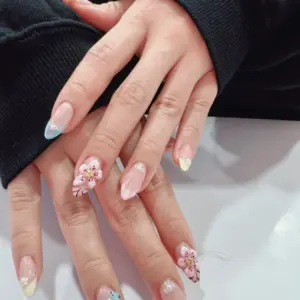
No-Chip Manicure: Benefits, Process, & What to Expect
A no-chip manicure uses a gel-based polish cured under UV or LED light, creating a durable, chip-resistant finish. This process delivers a manicure that lasts significantly longer than traditional polish.
No-chip manicures offer several advantages over traditional manicures, with the primary benefit being their exceptional durability and resistance to chipping, fading, and smudging for up to two to three weeks, as consistently reported by beauty industry experts. This longevity makes them a popular choice for those seeking a long-lasting, low-maintenance nail solution.
The process of getting a no-chip manicure involves standard nail preparation, followed by the application of a gel base coat, color coats, and a top coat, with each layer cured under a UV or LED lamp. At Salon Enzo Olizzo, our skilled technicians ensure a meticulous application for a flawless and long-lasting result.
What is a No-Chip Manicure?
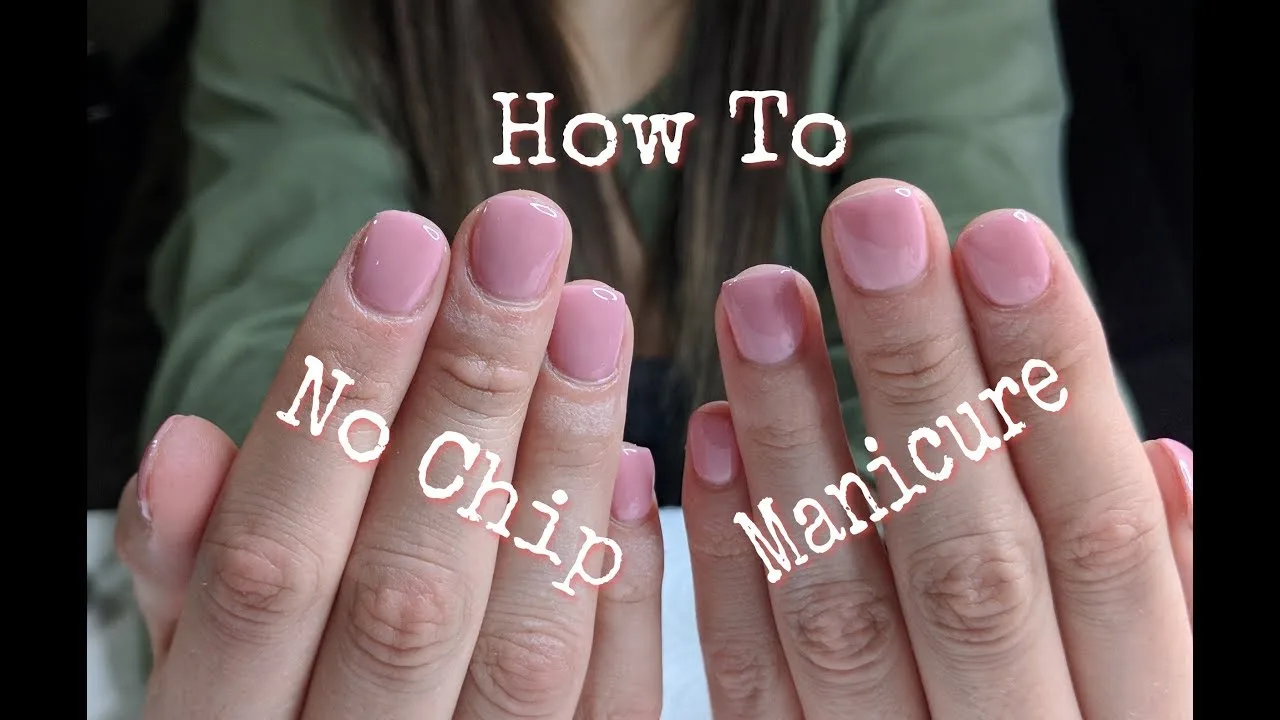
A no-chip manicure is a type of nail polish that uses a gel base cured under UV or LED light, creating a durable finish that resists chipping and smudging. This specific characteristic differentiates it from traditional manicures, which use air-dried lacquers. The application of gel polish and its curing process ensures exceptional longevity and resistance to daily wear.
What are the Benefits of No-Chip Manicures?
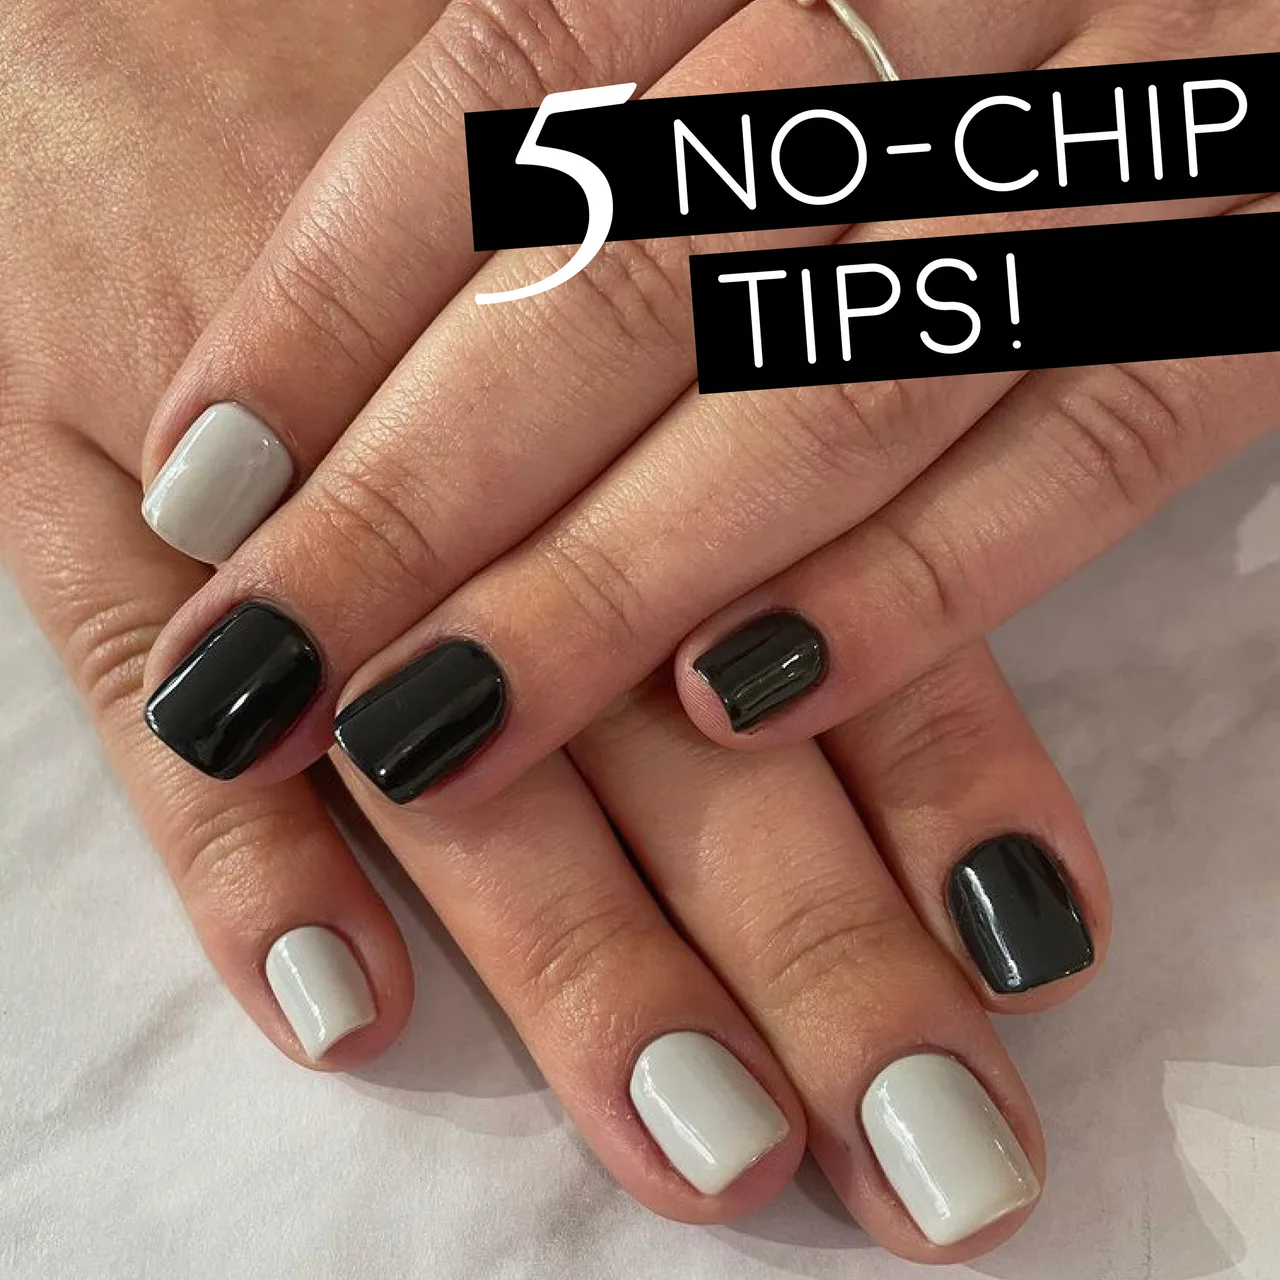
No-chip manicures stand out for their superior durability, lasting shine, and quick drying time. These advantages make them a superior choice compared to traditional manicures. The application process results in a finish that resists chipping, fading, and smudging, maintaining a pristine appearance for an extended period.
The gel polish creates a high-gloss finish that retains its luster throughout the wear, eliminating the dullness often seen with regular polish. Additionally, the UV or LED curing process ensures the polish dries instantly, preventing smudges and allowing for immediate use of hands post-manicure.
What is the Process of Getting a No-Chip Manicure?
The process of getting a no-chip manicure involves several key stages: nail preparation, the application and curing of gel polish layers, and a finishing touch. This detailed procedure begins with essential nail preparation, followed by the careful application and curing of gel polish layers, and concludes with a finishing touch. Each step contributes to the longevity and pristine appearance of the manicure.
Before gel application, technicians prepare the nails by cleaning, shaping, and pushing back cuticles. This creates an optimal surface for the polish. Next, a gel base coat is applied and cured under a UV or LED lamp, creating a foundation for the color. Two coats of gel color are then applied, with each layer cured individually to achieve vibrant, opaque coverage. Finally, a gel top coat seals the color and provides a high-gloss finish, also cured under the lamp for instant drying and enhanced durability.
No-Chip Manicure vs. Gel Manicure: What is the Difference?
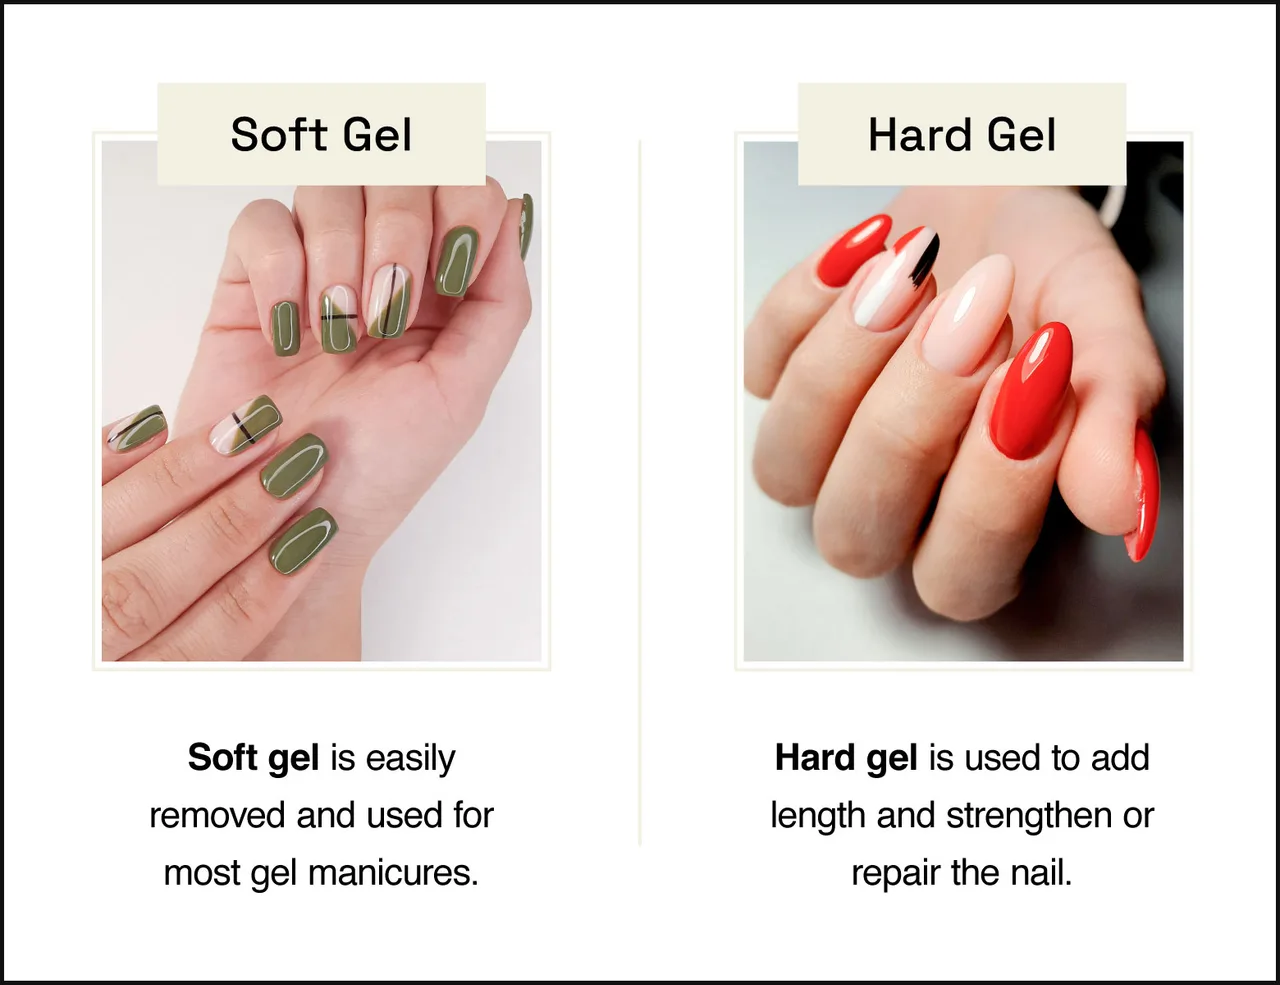
No-chip manicures and gel manicures are two names for the same nail treatment that uses gel and UV/LED light. Both services utilize a gel-based polish cured under UV or LED light to achieve a durable, long-lasting finish. While the names differ, the core process and materials remain consistent between what is commonly referred to as a no-chip manicure and a gel manicure. This unified approach ensures comparable benefits such as chip resistance and extended wear.
What to Expect During and After a No-Chip Manicure?
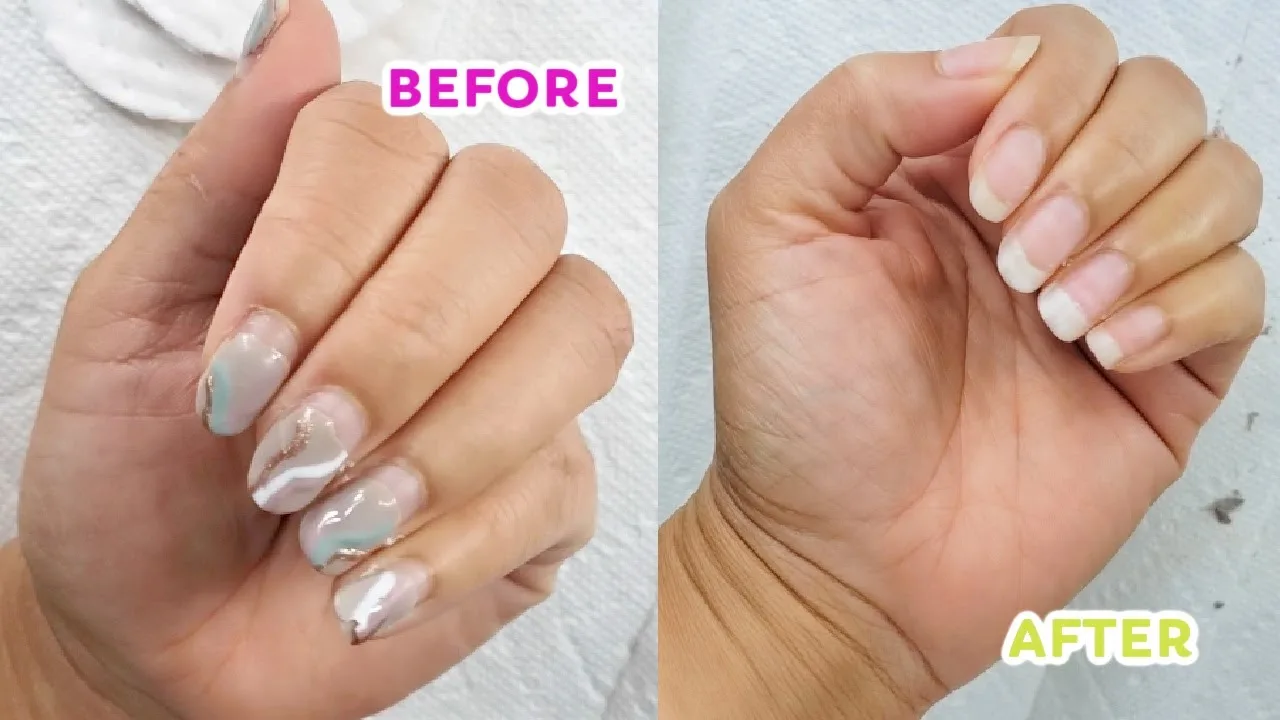
During a no-chip manicure, clients experience a meticulous application process and an immediate dry finish. This comprehensive experience includes thorough nail preparation and precise gel polish application. Technicians clean, shape, and buff nails before applying gel base, color, and top coats. Each layer is cured under a UV or LED lamp to ensure maximum durability.
After the service, specific aftercare maintains the manicure’s longevity. Proper post-manicure practices involve moisturizing cuticles and avoiding harsh chemicals. These steps preserve the manicure’s pristine condition and extend its wear. Regular maintenance appointments are necessary for optimal results.
How to Safely Remove a No-Chip Manicure at Home?
To safely remove a no-chip manicure at home, individuals need acetone, cotton balls, and aluminum foil. This method ensures minimal damage to natural nails when performed correctly. The removal process involves soaking the nails in acetone, which effectively breaks down the gel polish. After soaking, gently push off the softened gel to avoid peeling or scraping, which can harm the nail bed. Moisturizing nails and cuticles post-removal is essential for maintaining nail health.
Conclusion
No-chip manicures, synonymous with gel manicures, offer a durable and long-lasting alternative to traditional nail polish. This treatment involves applying a gel-based polish cured under UV or LED light, ensuring a chip-resistant, high-gloss finish that can last for weeks. The meticulous process, from nail preparation to the final top coat, guarantees an instantly dry and pristine appearance. With proper aftercare, individuals can enjoy extended wear and maintain healthy nails, making no-chip manicures a popular choice for those seeking a low-maintenance yet elegant nail solution.