For beginners looking to do their nails at home, this guide provides a convenient way to maintain nail health and aesthetics.
This guide offers step-by-step instructions for beginners to perform various at-home nail services, from basic manicures to more advanced techniques.
From basic preparations to troubleshooting common issues, you will confidently achieve beautiful nails right at home.
What are the essential steps for performing at-home nail services?
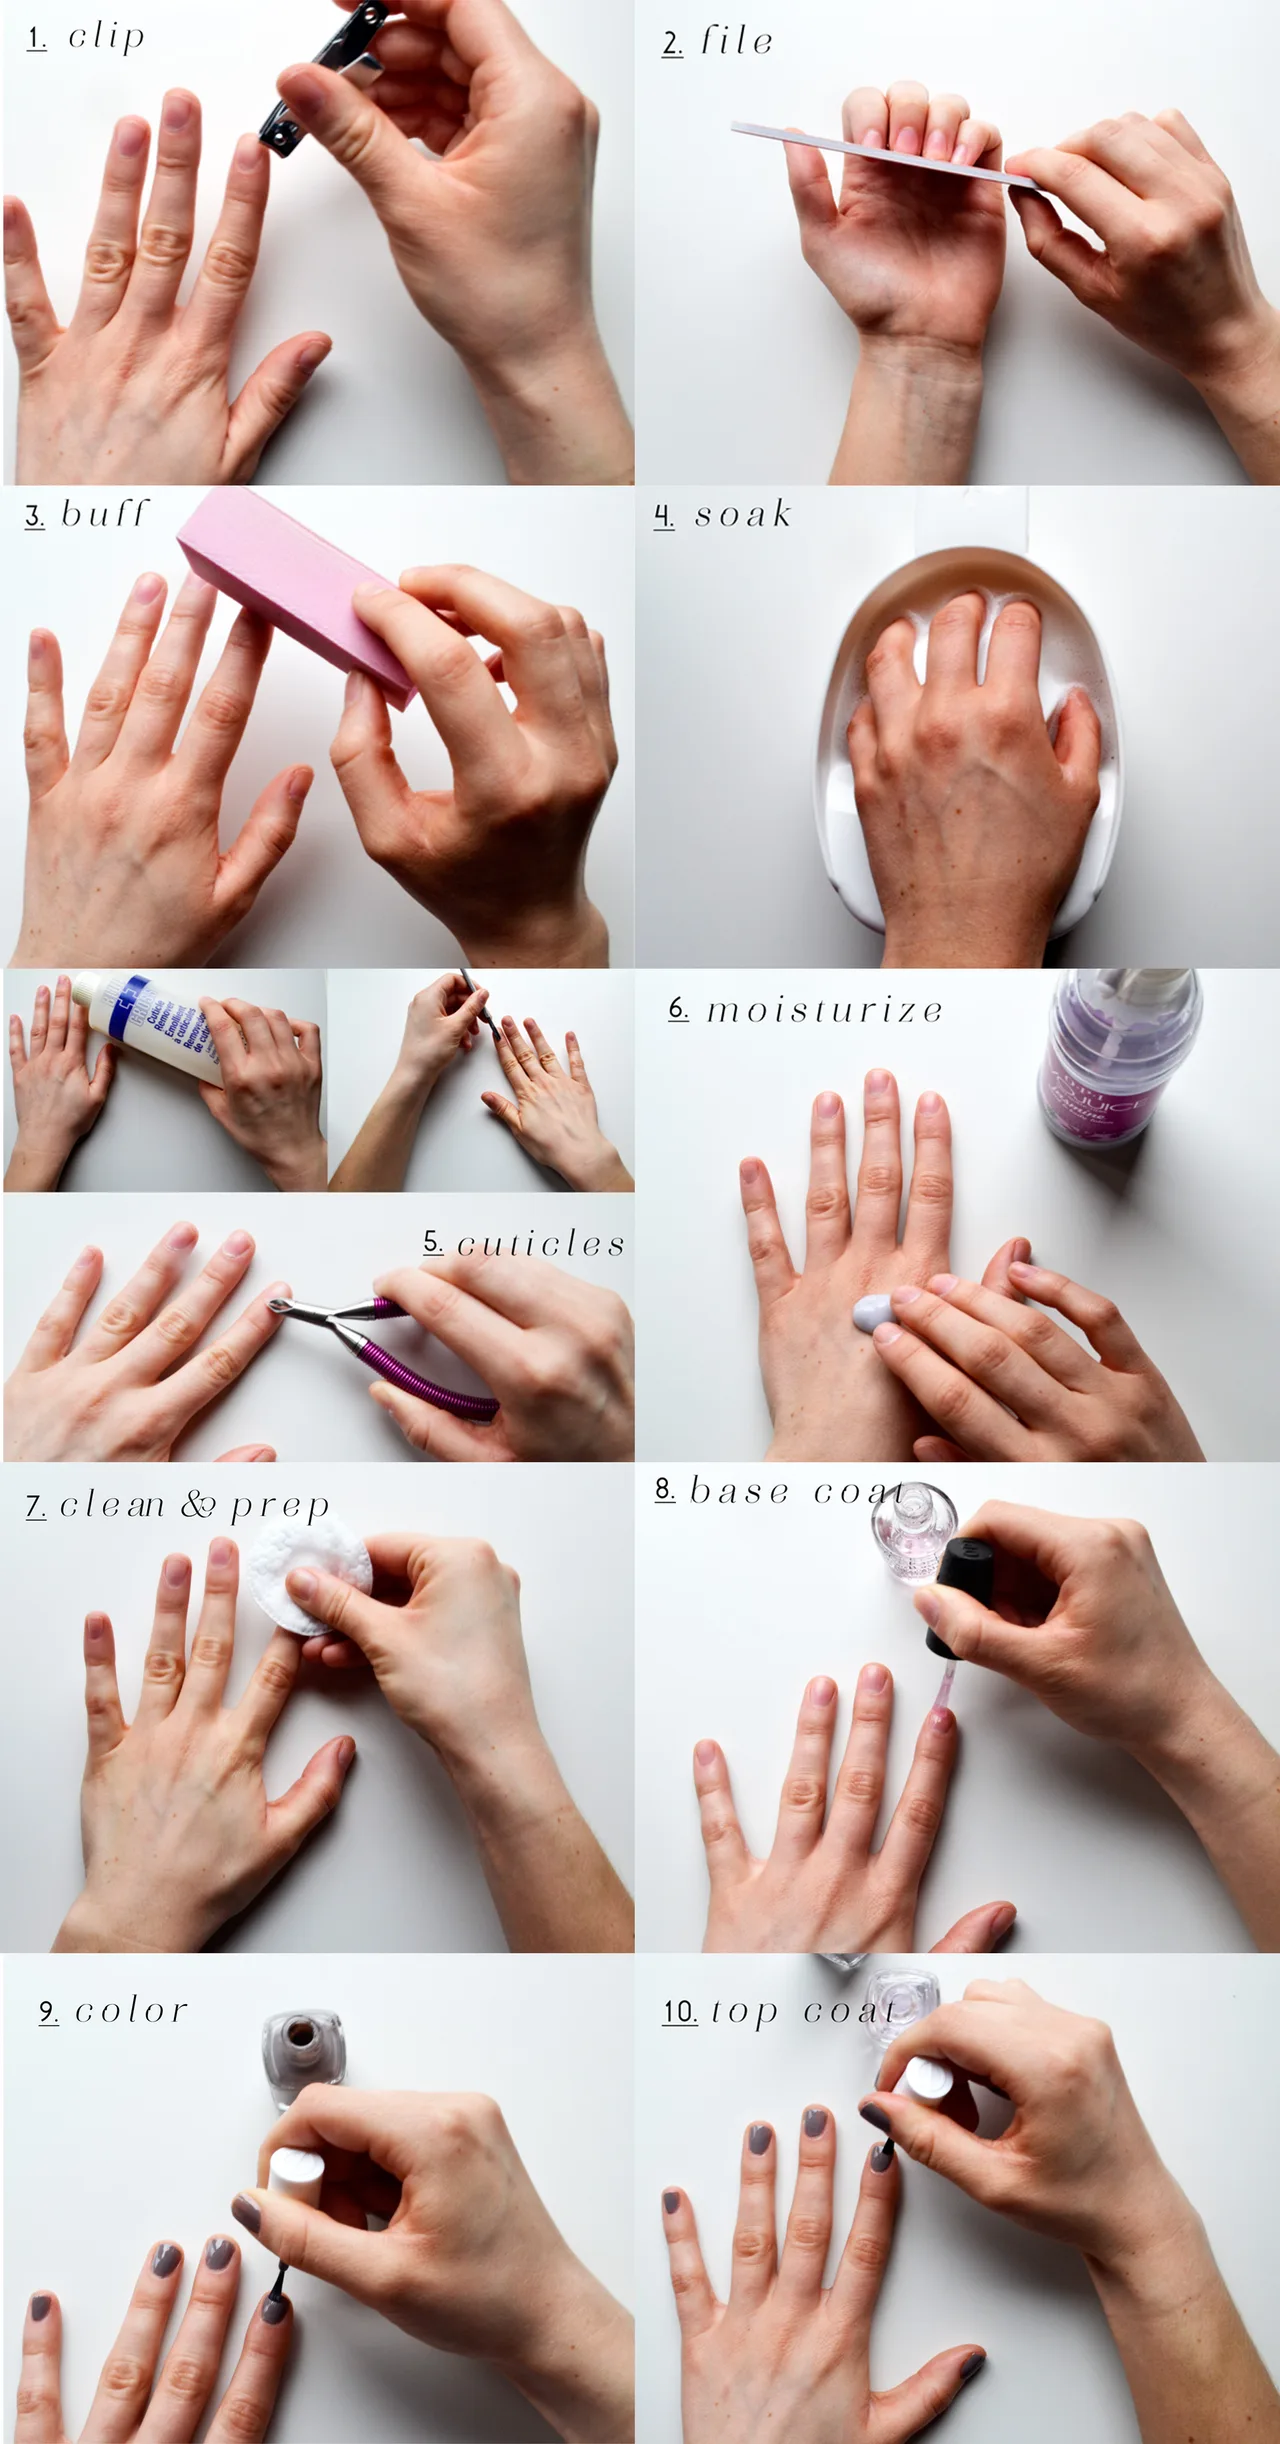
To effectively perform at-home nail services, you need to follow essential preparation and finishing steps. This process overview outlines the overall flow of an at-home nail service, ensuring all necessary steps are covered for optimal results.
What tools and materials are needed for a basic at-home manicure?
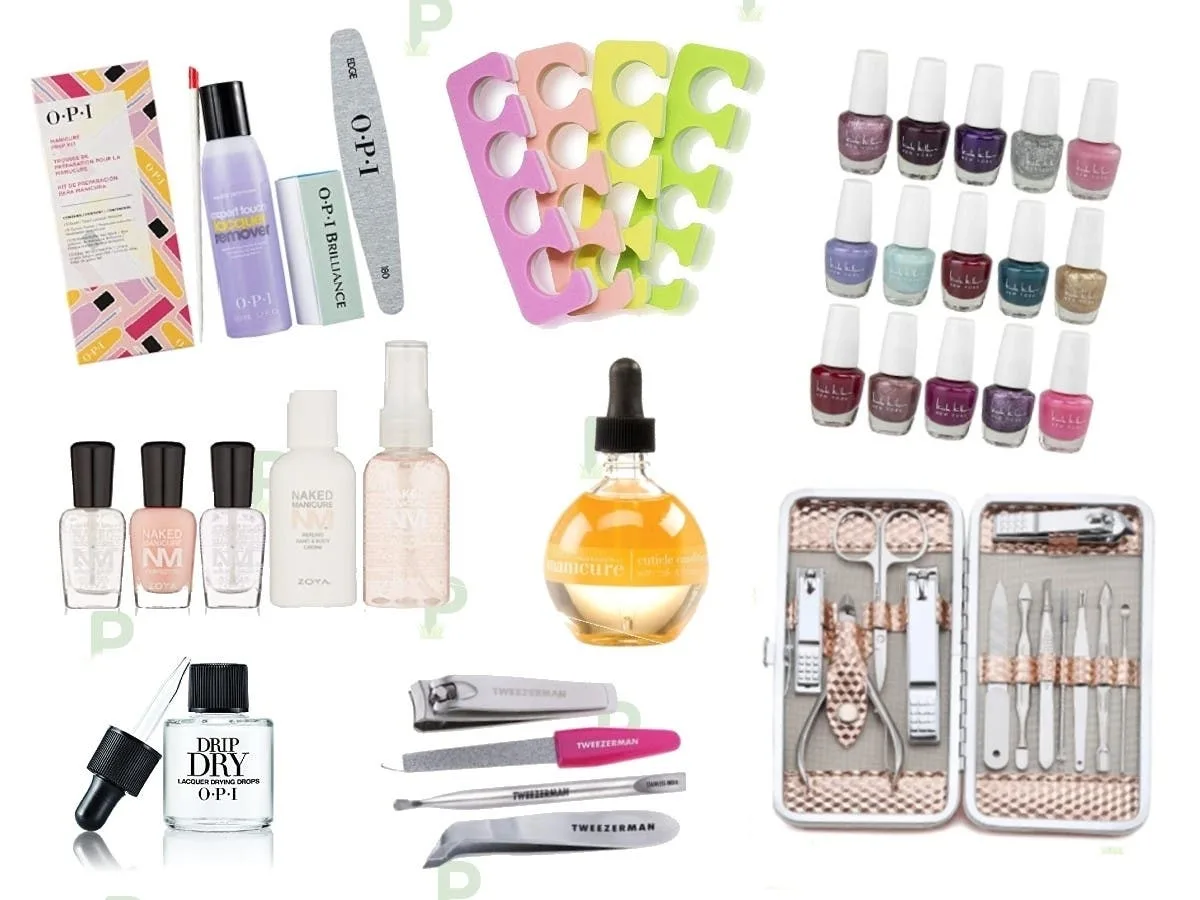
A basic at-home manicure requires several key tools and materials to ensure proper nail care and a polished finish. These include essential items for shaping, cleaning, and coloring the nails, ensuring a comprehensive treatment. Proper preparation with these tools supports the successful execution of an at-home nail service.
For a basic at-home manicure, essential tools and materials are needed. These include nail clippers for trimming, nail files for shaping, and buffers for smoothing the nail surface. Cuticle pushers gently push back cuticles, and nail polish provides color and protection.
How do you prepare your nails for an at-home service?
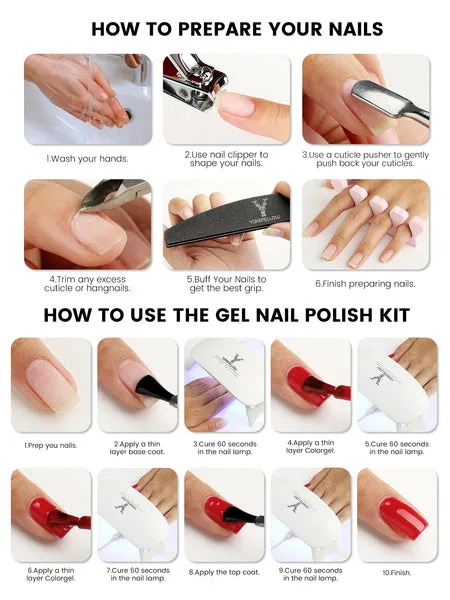
Preparing your nails for an at-home service involves a systematic approach, encompassing cleaning, shaping, and cuticle care to ensure a smooth foundation for subsequent treatments. This preparation optimizes nail health and extends the longevity of the manicure or pedicure. Following these preparatory steps ensures the nails are ready to receive the at-home service effectively.
To prepare nails for an at-home service, begin by removing any old polish using a non-acetone remover to prevent dryness. Next, trim and file the nails to the desired shape and length. Gently push back the cuticles with a cuticle pusher after soaking hands in warm water to soften them.
What is the correct technique for applying nail polish at home?
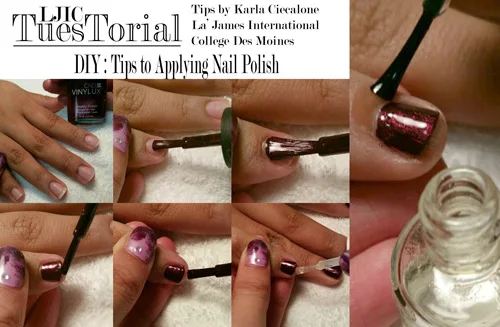
Applying nail polish at home involves a specific technique encompassing base coat, color coats, and top coat application, ensuring a smooth and lasting finish. This detailed approach to nail polish application contributes to the overall success and aesthetic appeal of at-home nail services. Following these steps provides a professional-looking result.Begin by applying a thin layer of base coat, allowing it to dry completely. Next, apply the first color coat in thin, even strokes, avoiding the cuticles and sidewalls. After the first coat dries, apply a second thin color coat for opaque coverage. Finish with a top coat to seal the color and add shine, extending the polish’s wear time.
What are common methods for basic nail care at home?
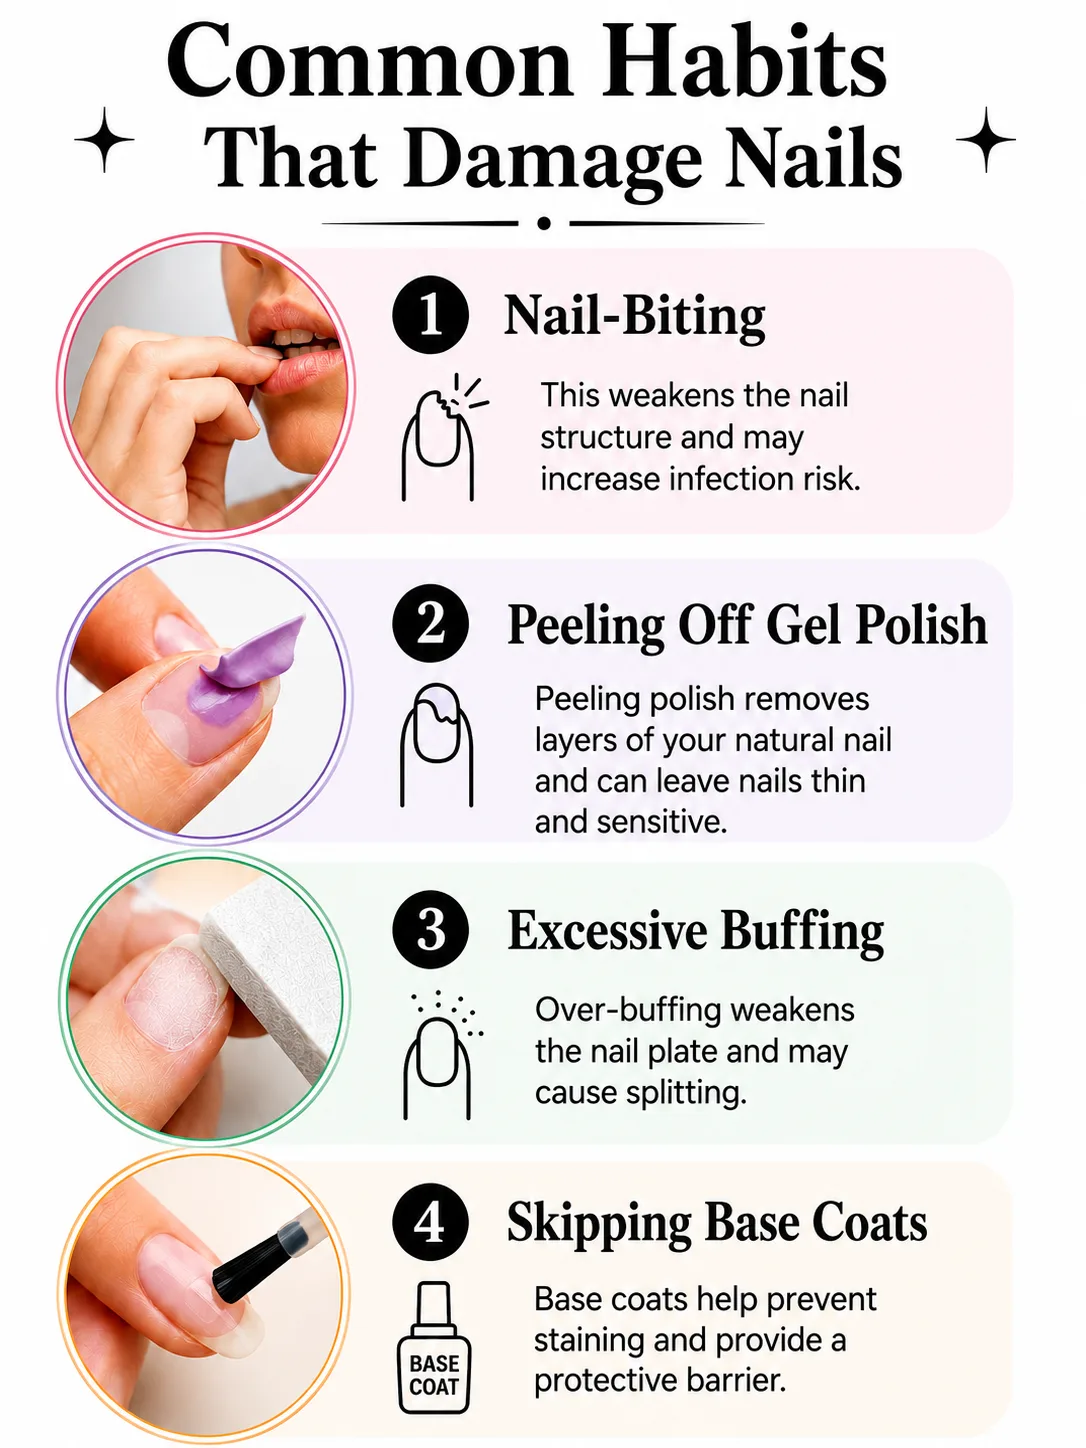
Common methods for basic nail care at home include regular trimming, filing, and moisturizing, alongside proper cuticle management and protective polish application. These practices maintain nail health and appearance between professional services. This overview details essential routine nail care, providing a foundation for consistent nail upkeep.
How does a basic manicure differ from a pedicure when done at home?
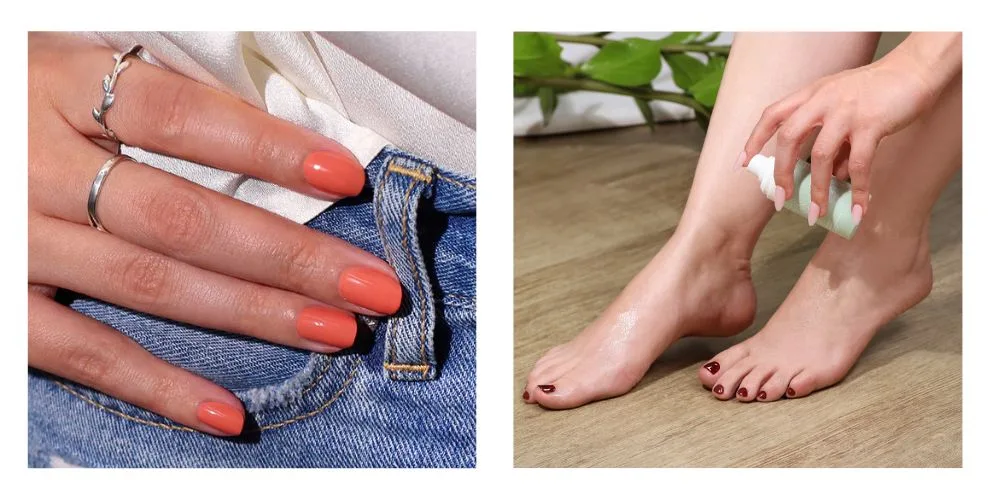
A basic manicure focuses on the hands and fingernails, while a pedicure addresses the feet and toenails, with distinct steps and tools for each. This comparison highlights the specific procedures and considerations involved in performing these at-home nail services. Understanding these differences ensures appropriate care for both sets of extremities.Manicures typically involve shaping, filing, and polishing fingernails, often including hand massages and cuticle care. Pedicures focus on trimming toenails, removing calluses, and moisturizing feet, with foot soaks being a common preparatory step. The tools used also vary, with larger clippers and files for toenails and specialized foot rasps for smoothing rough skin on the feet.
Is it necessary to use a base coat and top coat for at-home nail services?
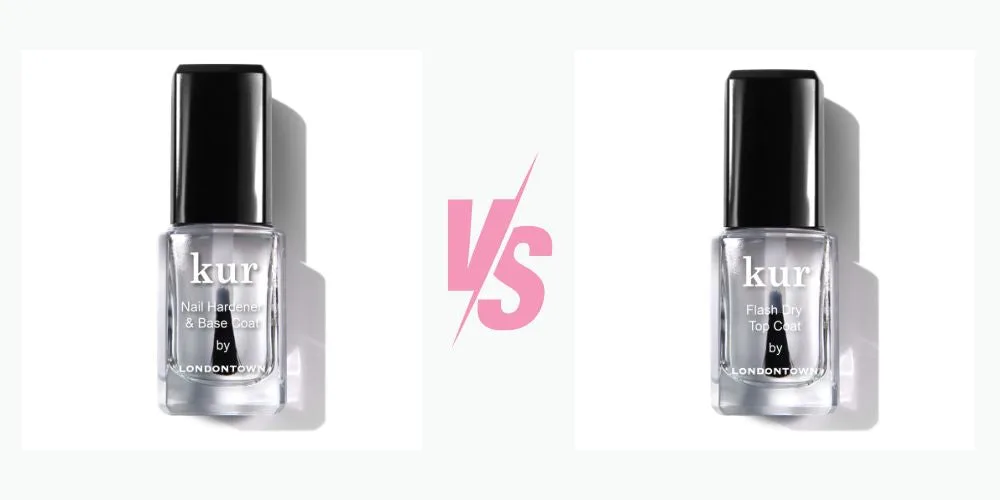
Yes, using a base coat and top coat is necessary for at-home nail services because they extend polish longevity, protect natural nails, and enhance the overall finish. These layers create a durable manicure or pedicure. This practice ensures both aesthetic appeal and nail health. Base coats prevent staining and create a smooth surface for color application. Top coats seal the color, add shine, and protect against chipping and scratching.
How can beginners troubleshoot common at-home nail service issues?
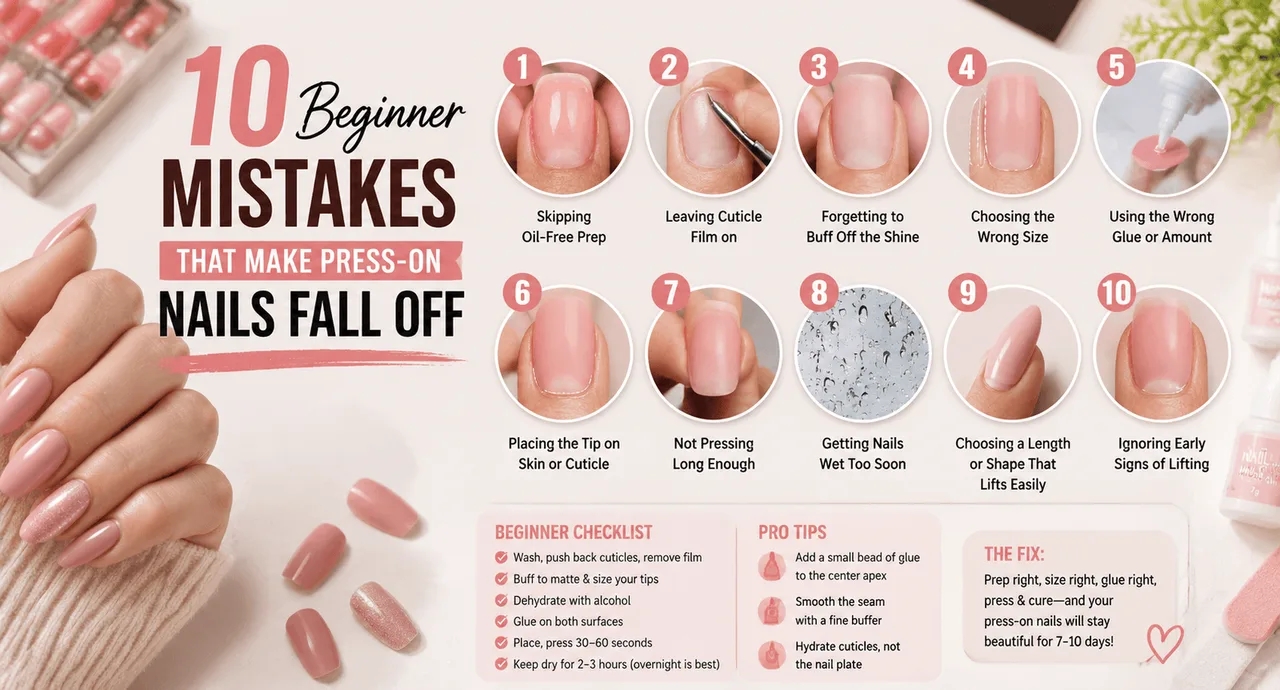
Addressing common at-home nail service issues involves systematic problem-solving, encompassing preventative measures and corrective actions for various challenges. This approach ensures successful outcomes by mitigating issues like chipping, smudging, or uneven application. Troubleshooting common problems enhances the overall quality and longevity of at-home nail services.
How can you prevent nail polish chipping quickly after an at-home application?
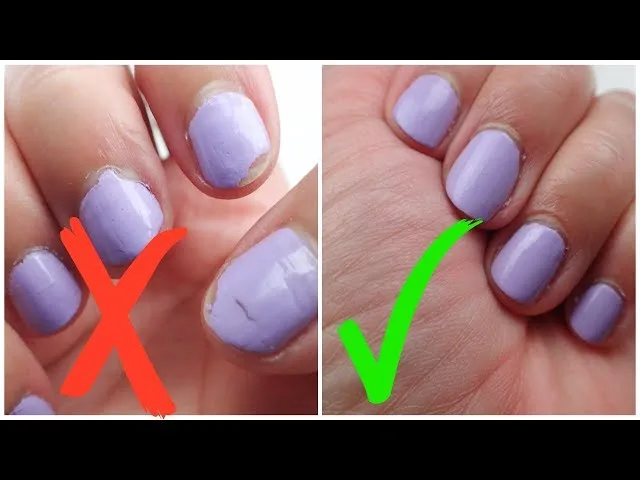
To prevent nail polish chipping quickly after an at-home application, proper preparation and careful application techniques are essential to enhance durability. This systematic approach ensures the polish adheres well and resists daily wear and tear. Implementing these tips and techniques significantly improves polish durability and prevents early chipping. Begin by ensuring nails are clean, dry, and free of oils before applying polish. Always use a base coat to create a smooth surface and help the polish adhere, followed by two thin color coats. Finish with a top coat, extending it slightly over the nail tip to seal the free edge.
What are the best practices for removing nail polish without damaging nails?
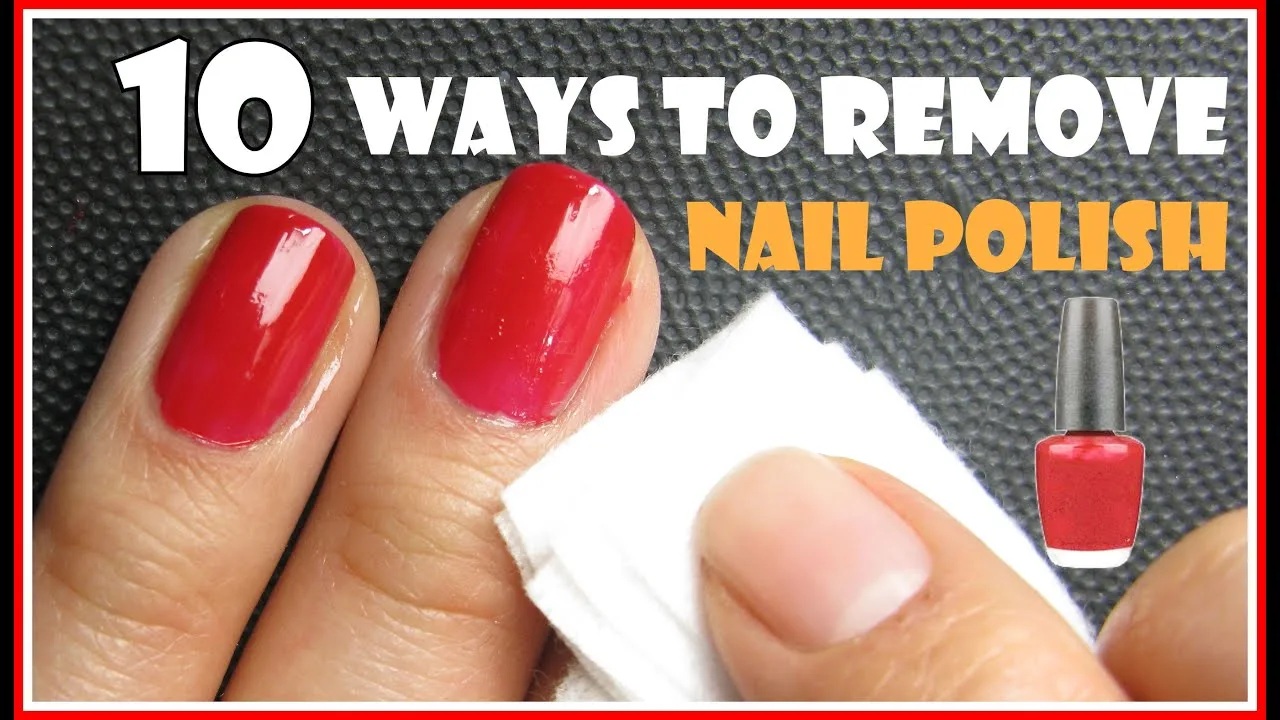
Removing nail polish without damaging nails involves using gentle, effective methods tailored to the polish type, ensuring nail health is maintained. This approach prevents dryness, breakage, and weakening of the natural nail. Proper polish removal techniques are crucial for healthy at-home nail care.
For standard polish, use an acetone-free remover and cotton pads, gently wiping the nail from cuticle to tip. For gel polish, soak nails in acetone with cotton balls wrapped in foil for 10-15 minutes to remove it effectively and safely.
Are there any advanced techniques for beginners to enhance their at-home nail services?
Yes, beginners can enhance their at-home nail services through advanced techniques, elevating basic nail care with specialized applications and refined practices. These methods build upon foundational skills, introducing simple ways to achieve more sophisticated results. Embracing these techniques transforms standard at-home manicures and pedicures into more polished, long-lasting finishes.
Introducing simple ways for beginners to elevate their at-home nail care beyond the basics involves focusing on techniques that add durability, aesthetic appeal, and a professional touch. These enhancements can significantly improve the overall outcome and satisfaction with at-home nail services.
What is nail stamping, and how can a beginner try it?
Nail stamping is a decorative technique that transfers intricate designs from a metal plate onto the nail using a stamper and special polish. This method allows beginners to achieve detailed nail art without freehand painting.
Getting started with nail stamping involves a few simple steps:
- Apply a base coat to clean nails.
- Apply specialized stamping polish to the design on the metal plate, then scrape off the excess.
- Quickly roll the stamper over the design to pick it up.
- Immediately roll the stamper onto the nail to transfer the image.
- Finish with a clear top coat to seal the design and add shine.
How can you effectively use nail art stickers and decals at home?
Effectively using nail art stickers and decals at home involves careful application and proper sealing to ensure a professional, lasting finish. These decorative elements provide an accessible way for beginners to achieve intricate nail art designs. Following specific instructions ensures the stickers and decals adhere correctly and integrate seamlessly with the manicure or pedicure.Begin by ensuring nails are clean, dry, and free of oils. Carefully peel the desired sticker or decal from its backing using tweezers. Position the sticker on the nail, pressing down gently from the center outwards to smooth out any air bubbles. Once applied, seal the design with a clear top coat, extending it slightly over the edges of the sticker for enhanced durability and a polished look.
Conclusion
In summary, mastering at-home nail services offers a convenient way to maintain nail health and aesthetics, from basic manicures to advanced techniques. This guide has provided clear, step-by-step instructions for preparation, application, and troubleshooting common issues like chipping, ensuring successful and satisfying results. By following these methods, beginners can confidently achieve professional-looking and long-lasting nail care right at home, enhancing both durability and aesthetic appeal.